Cheese boards are one of the dreamiest snack options. Far from a hot pocket on the couch, cheese boards conjure up pictures of wine tasting, picnicking in the park, special moments shared with romantic partners and friends, and of course, absolute deliciousness.
But not all cheese boards are equally scrumptious. So to help you create the perfect cheese board for any occasion, we’ve put together this guide to building one, complete with tasty cheese board ideas, crucial snack additions, and the occasions that practically need a cheese platter.
Perfect Occasions For A Cheese Board
It could be argued that a good cheese board is never unwelcome, and could suit any occasion. However, there is a definite difference between bringing an aged cheddar to your kid’s baseball game and having an epic cheese board prepared for a gorgeous girls night. So here are the best possible events to make a cheese board for:
- Picnics
- Birthday parties
- Girls night
- Game night
- Book club
- House parties
Steps To Building An Awesome Cheese Board
First things first, it’s important to keep in mind that a cheese plate can be simple or complex. While the ultimate cheese board would have a selection of soft cheeses, bread sticks, fresh fruits, and dips, you can also make a simple platter with just a few cheeses. The inclusion of a pretty platter and cheese knives will make your creation look great, no matter what’s involved.
So while the following steps should all be followed if you want to make a really amazing cheese board, you can also skip a few to make a simpler one. Now, without further ado, here are the steps to assembling a truly delicious cheese platter:
Step 1: Pick Your Platter
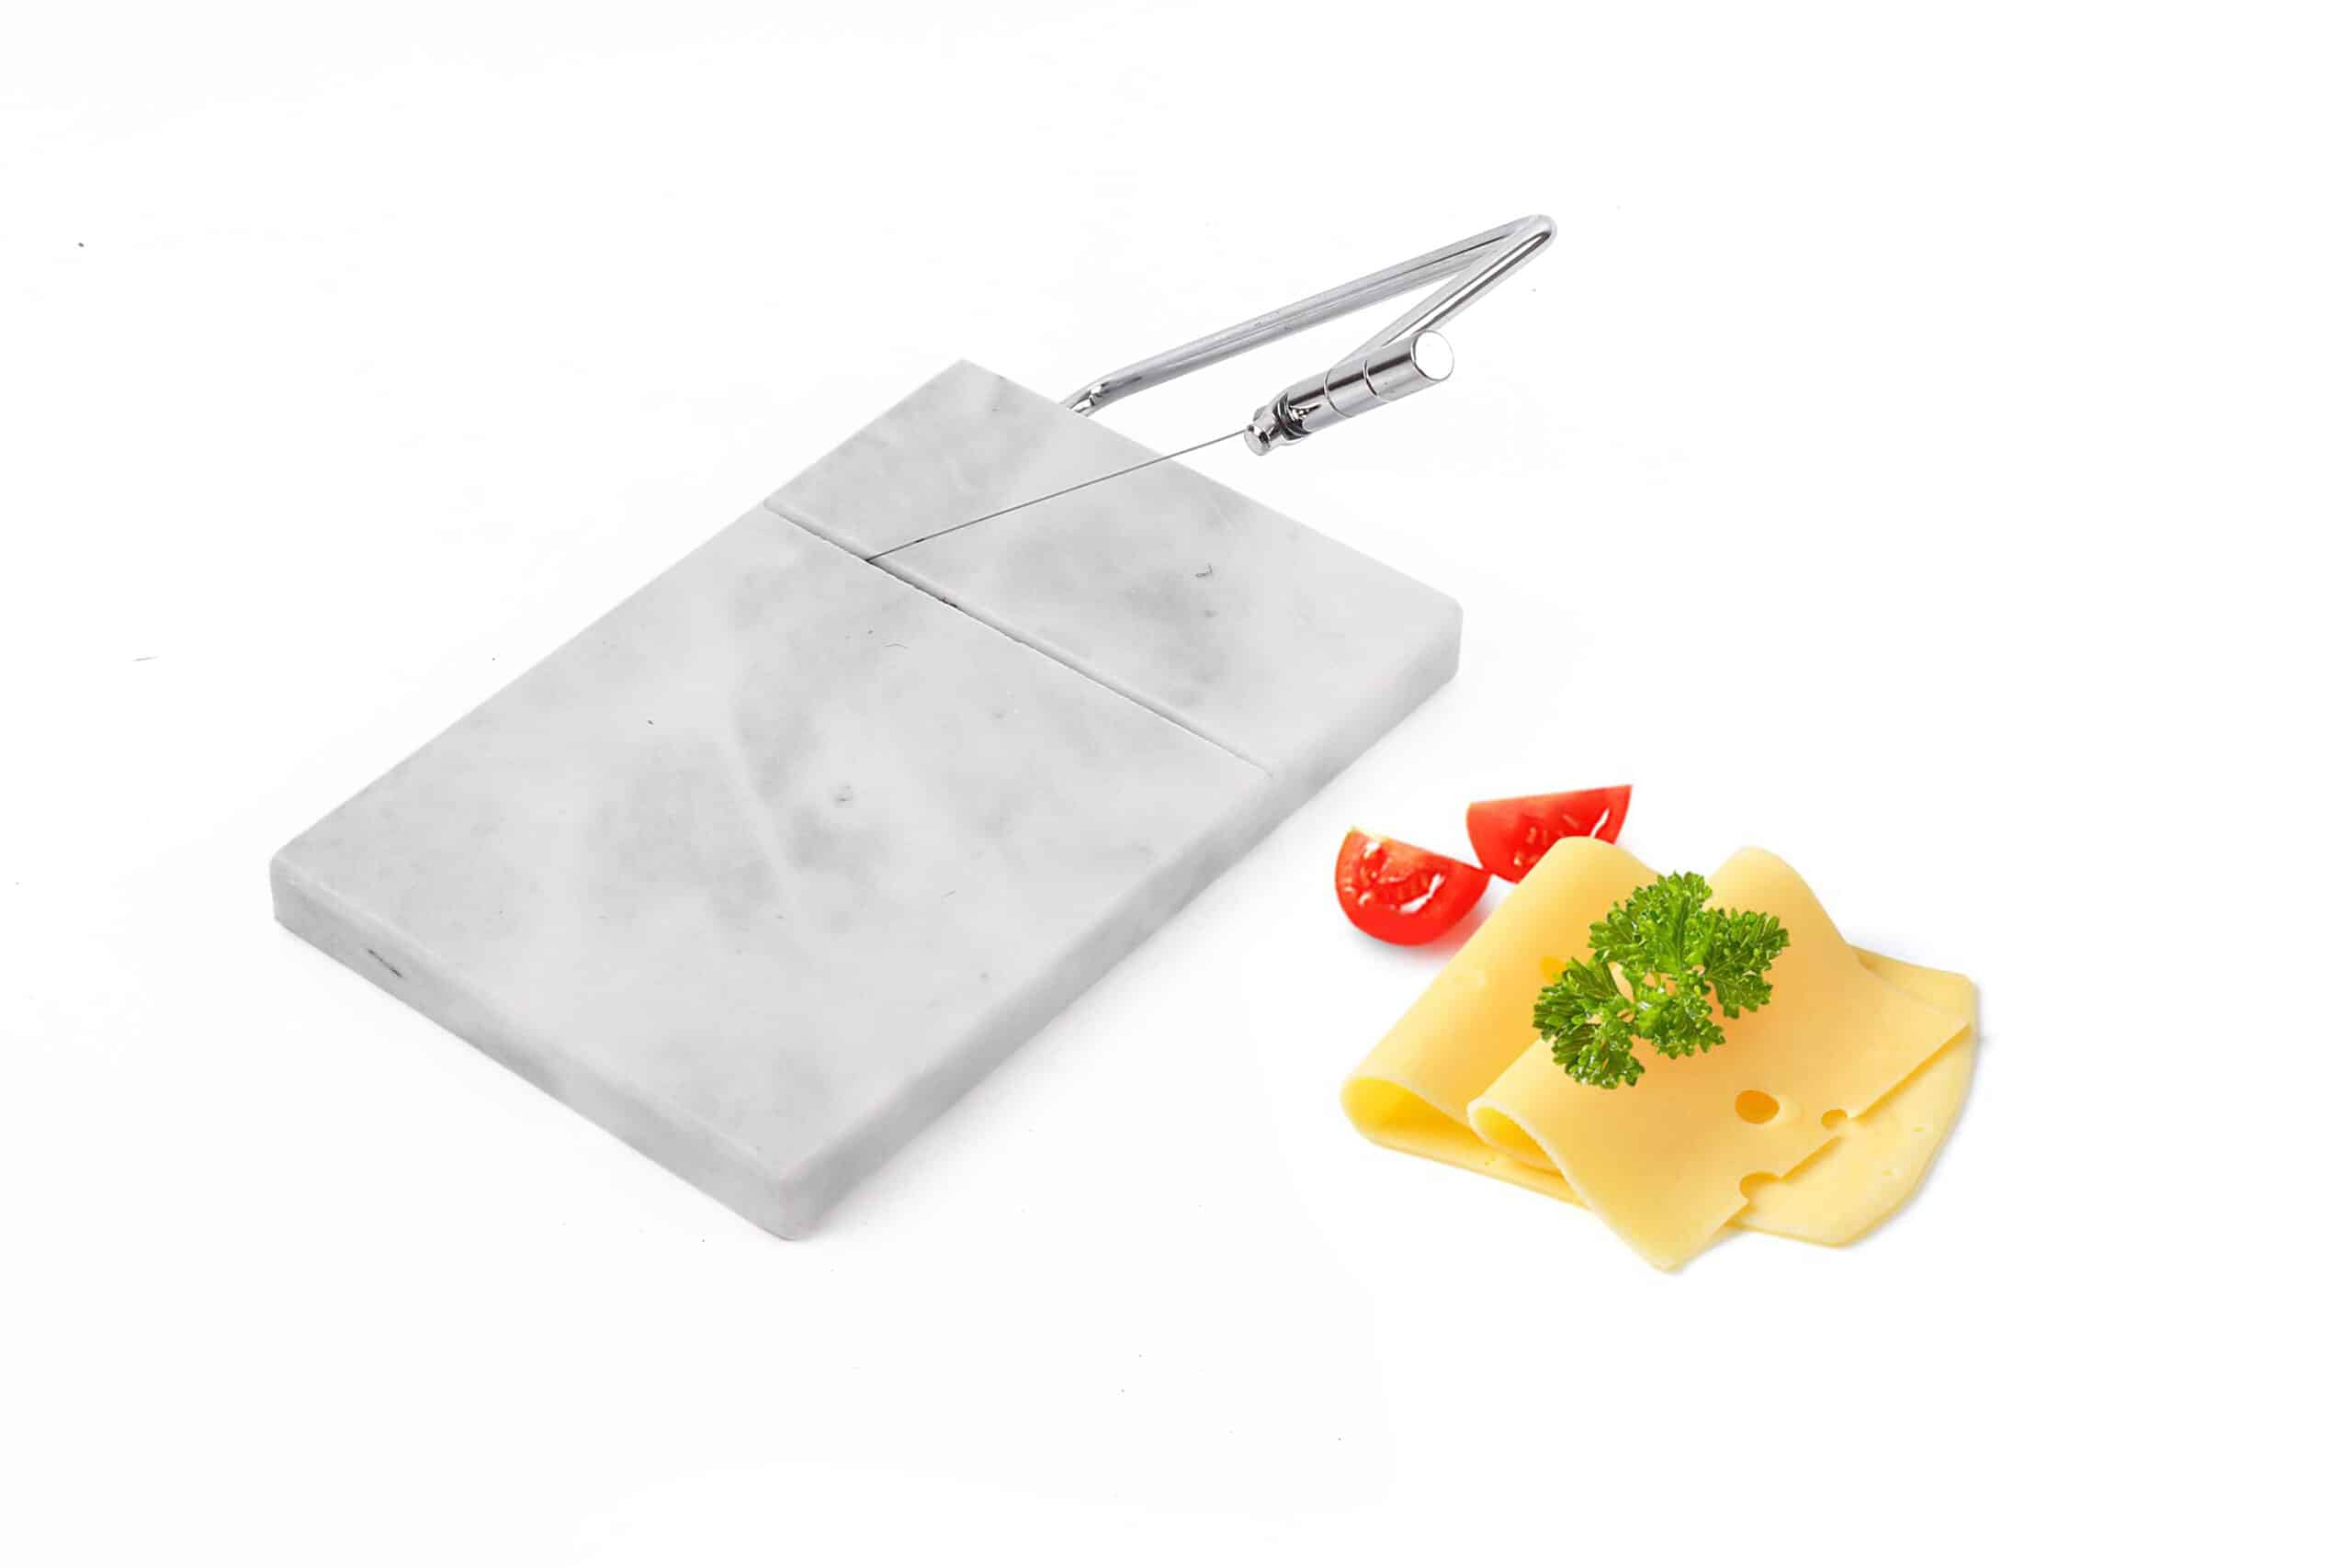
First, you need to choose the foundation. Our marble cheese board comes with a cheese cutter, which makes it easy to get perfect slices every time. Alternatively, find a board that’s large enough to feed everyone at your event. A bamboo or wooden cutting board work well, and a serving platter works even better.
Step 2: Gather your Cheeses
This is the most exciting part. Select a variety of cheeses to create a diverse and exciting cheese board. Go for a mix of styles like soft cheese, semi-soft, hard, and blue. A soft goat cheese, aged cheddar, blue cheese, and brie or camembert are great places to start. Place a couple of whole cheeses as the anchors of your board. They’ll be the celestial bodies around which the other elements revolve.
Step 3: Get Carby
It’s not often that carbs are quite so encouraged. An assortment of crackers, breadsticks, and baguette slices provide a delicious base for your charcuterie board. You can mix it up with options like sesame, whole wheat, and rosemary-flavoured crackers.
Step 4: Add a Little Sweetness
Add a touch of sweetness with fruit preserves (fig jam is a popular choice), fresh berries, sliced apples, and dried fruit like figs, apricots, and cranberries. They’ll provide a delightful contrast to the savoury cheese flavours while making your cheese platters look fantastic too.
Step 5: Add Some Salty
A great cheese board comes from the variety of flavours that can be accomplished. So introduce some salty elements like olives, pickled onions, roasted peppers and cured meats. You can also add some salted almonds and a small bowl of olive oil for dipping. These will add an extra layer of flavour and complement the cheeses splendidly.
Step 6: Garnish with Greenery
To add a touch of freshness, add some fresh herbs like basil, mint, or rosemary on the side of your cheese board. Not only do they enhance the visual appeal, but they also provide a subtle aroma that complements the entire cheese experience.
Step 7: Share and Enjoy
Finally, invite your friends, family, or fellow cheese enthusiasts to gather around the cheese counter and enjoy the marvellous medley of flavours. Encourage exploration, conversation, and the sharing of cheesy puns and jokes. Remember, the cheesier, the better!