Baking is a fun and rewarding activity, but cleaning up afterwards can quickly turn a great time into a tedious task, especially when it comes to cleaning baking trays. Over time, baking trays can accumulate stubborn grease, stains and burnt-on food, making them difficult to clean completely. However, with the right techniques and tools, cleaning baking trays can be a breeze, and your trays can keep looking as good as new!
In this blog post, Kitchenways will provide you with a step-by-step guide on how to clean baking trays effectively, as well as some tips and tricks to make the process easier. Whether you’re a seasoned baker or just starting out, this guide will help you keep your baking trays in top condition and ensure they last for years to come. Let’s get started!
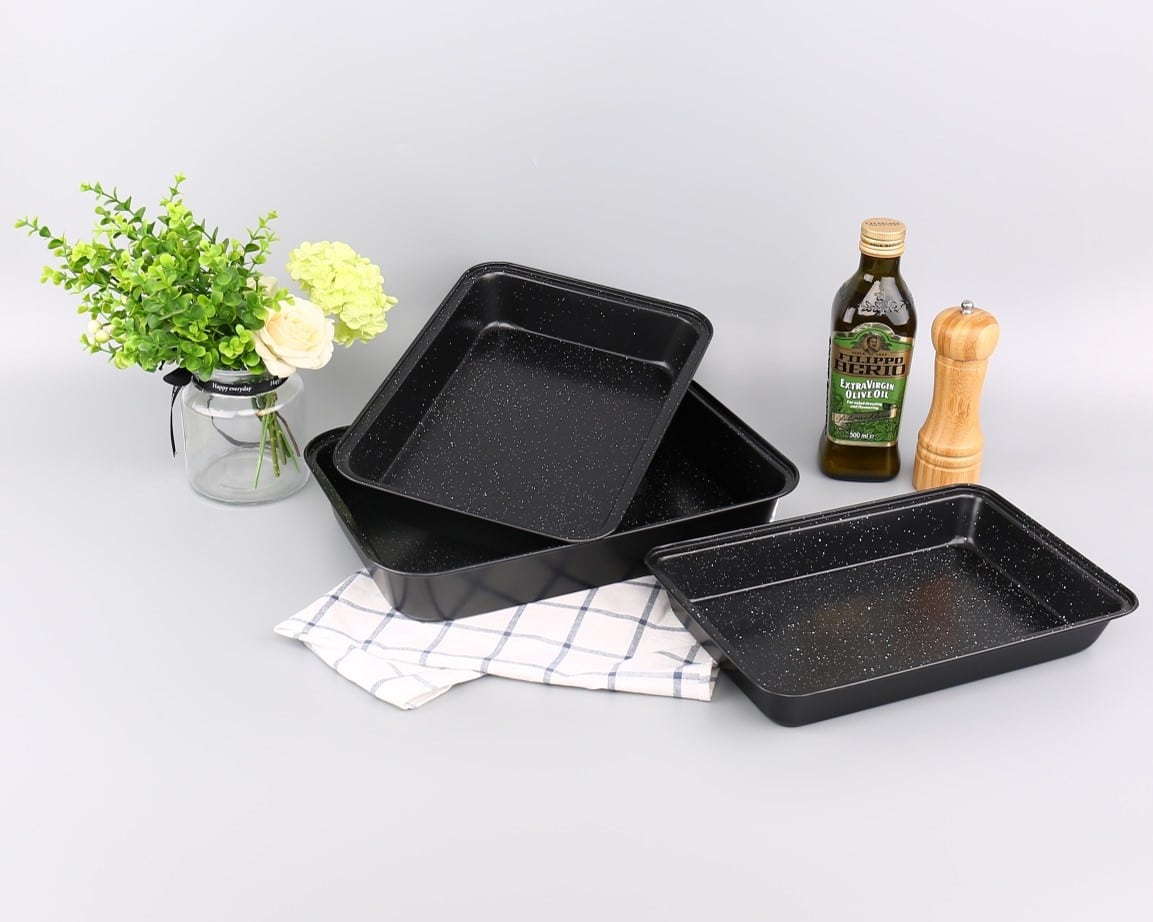
How to Clean Baking Sheets
Cleaning a baking tray can actually be a simple and straightforward process if you know what to do. So simply follow these steps, and you will effectively clean your dirty baking trays:
- Soak the baking tray: Start by soaking your baking tray in hot soapy water for at least 15-20 minutes. This will help loosen any stubborn stains and make them easier to remove.
- Scrub the tray: Use a non-abrasive scrubber or sponge to scrub the baking tray, paying extra attention to any areas with burnt-on food or staining. If your baking tray or roasting tin has rimmed sides, pay attention to the grooves and corners.
- Rinse the baking tray: Once you have scrubbed the tray, rinse it thoroughly with hot water to remove any remaining soap and baking soda residue.
- Dry the baking sheet: Use a clean towel to dry the tray completely. Be sure to dry it thoroughly to prevent any rust from forming.
How to Clean Oven Trays with Baking Soda and Vinegar
If you have thoroughly tough food or grease on your baking sheet, it’s time to bring out the baking soda and vinegar. Simply add these two steps to the above process to get your baking sheet sparkling clean:
- First, sprinkle baking soda over the tray, then pour vinegar over it. The mixture will fizz and help break down the stains. Let it sit for a few minutes before scrubbing and rinsing as before.
- If all else fails, you can try using a commercial cleaner specifically designed for cleaning baking trays. Be sure to follow the instructions carefully and rinse the tray thoroughly afterwards.
How to Clean Non-Stick Baking Trays
Cleaning non-stick baking trays requires a bit of extra care and attention, as you don’t want to damage the non-stick coating. Here are some steps you can follow in cleaning your non-stick baking trays:
- Ensure the tray is cool: If you’ve just been using the tray, allow it to cool completely before attempting to clean it.
- Wipe the tray: Use a paper towel or a soft sponge to wipe away any excess grease or food residue from the tray.
- Soak the tray: Fill the tray with hot soapy water and let it soak for at least 15-20 minutes. This will help loosen any remaining food, making it easier to clean.
- Scrub the tray: Make sure to use a non-abrasive scrubber or sponge to gently scrub the tray. Avoid using any abrasive cleaners or steel wool, as this can damage the non-stick coating.
- Use baking soda and vinegar: If there is still stubborn dirt stuck to try tray, use the above steps with baking soda and vinegar, still making sure not to use abrasive materials on the non-stick surface.
- Rinse the tray: Rinse the tray thoroughly with hot water to remove any remaining soap or debris.
- Dry the tray: Use a clean towel to dry the tray completely. Be sure to dry it thoroughly to prevent any water spots or damage to the non-stick coating.
By following these steps, you can clean your non-stick baking trays with ease and without damaging the non-stick coating. Remember to always be gentle when scrubbing and avoid using any abrasive cleaners or steel wool.
Conclusion on Cleaning Baking Trays
Keep in mind that if you clean baking trays regularly, it will be much easier to keep them sparkling clean. Leaving the dirt to sit and bake into the tray is what makes it tricky, so aim to be more thorough and follow these steps regularly.
PICKED FOR YOU
- Sale!
- Sale!
- Sale!
- Sale!
- Sale!


